These Cherry Pie Bars are the perfect combination of sweet, buttery goodness and tart cherry filling. With a soft, cake-like base and a generous layer of cherry pie filling topped with drizzles of a vanilla-almond glaze, they’re a crowd-pleasing dessert for any occasion. Whether you're serving them at a party, bringing them to a potluck, or simply craving a sweet treat, these bars will hit the spot every time.
Why You’ll Love This Cherry Pie Bars :
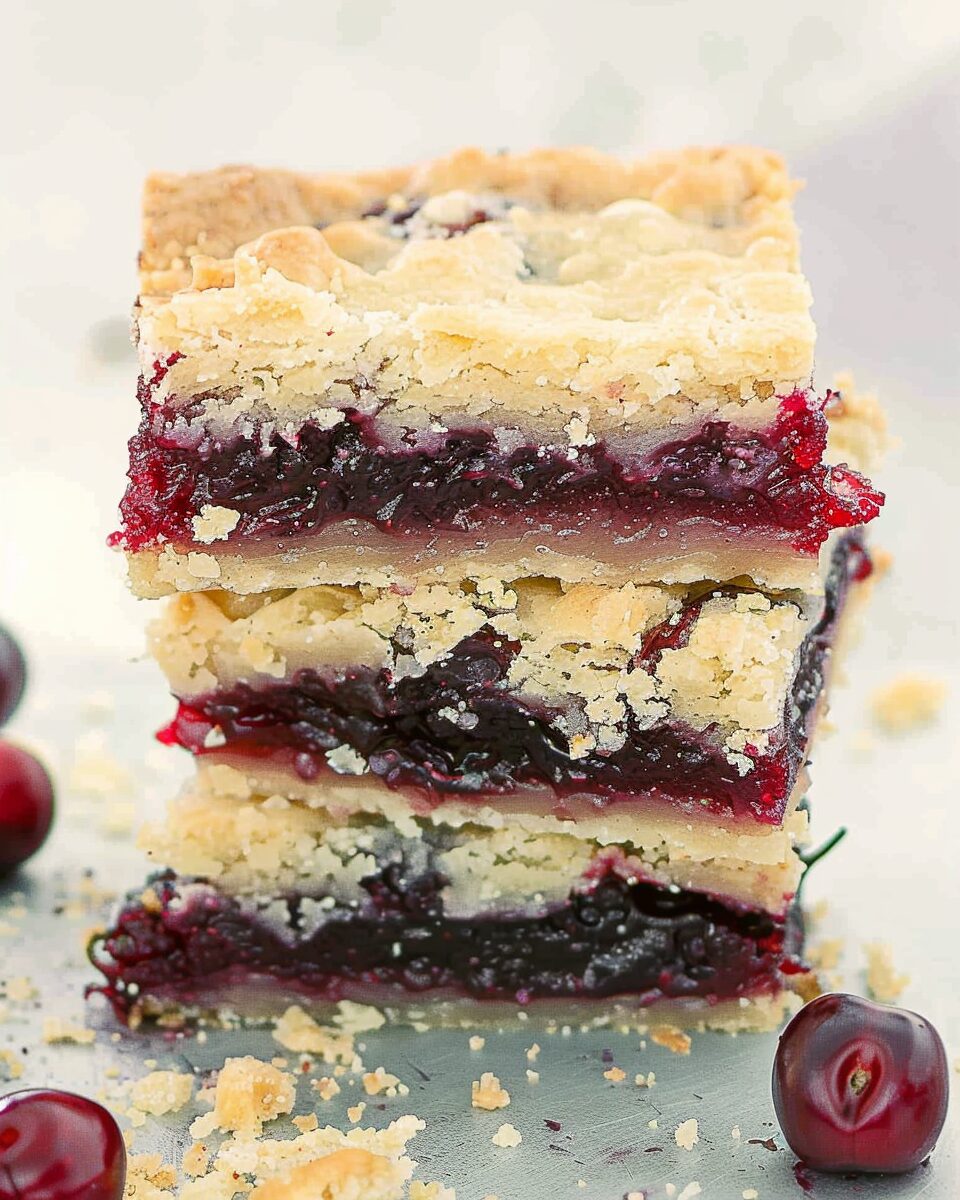
These Cherry Pie Bars are a quick and easy way to enjoy the delicious flavors of cherry pie without all the fuss of rolling out dough. The soft, buttery crust pairs beautifully with the tart cherry filling, and the almond-vanilla glaze drizzled on top adds the perfect finishing touch. They bake up beautifully in a 15x10x1-inch pan, making them ideal for feeding a crowd. Plus, they’re easy to cut into squares, making them perfect for parties and gatherings!
"These cherry pie bars are always a hit whenever I bring them to a gathering! They’re so simple to make and taste like you’ve spent hours in the kitchen."
Ingredients You’ll Need for Cherry Pie Bars :
Here’s what you’ll need to make these delicious Cherry Pie Bars:
- 1 cup butter, softened: Adds richness and moisture to the bars.
- 2 cups sugar: Sweetens the dough and helps create a tender crumb.
- 4 eggs: Adds structure and richness.
- 1 teaspoon vanilla extract: Adds a warm, sweet flavor to the dough.
- ¼ teaspoon almond extract: Enhances the cherry flavor with a subtle nutty note.
- 3 cups all-purpose flour: Forms the base of the dough.
- 1 teaspoon salt: Balances the sweetness.
- 2 cans (21 oz each) cherry pie filling: Provides the sweet and tart cherry filling.
For the Glaze:
- 1 cup powdered sugar: For a smooth, sweet glaze.
- ½ teaspoon vanilla extract: Adds flavor to the glaze.
- ½ teaspoon almond extract: Enhances the glaze with a nutty flavor.
- 2 tablespoon milk: Thins the glaze to a drizzle-able consistency.
Step-by-Step Guide to Making Cherry Pie Bars
Step 1: Preheat the Oven
Preheat your oven to 350°F (175°C). Spray a 15x10x1-inch baking pan with non-stick spray to ensure easy removal of the bars after baking.
Pro Tip: If you don't have a 15x10x1-inch pan, you can use a 9x13-inch pan, but you may need to adjust the baking time, as the bars will be thicker and take a bit longer to bake.
Step 2: Cream Butter and Sugar
In a large mixing bowl, cream together the softened butter and sugar until the mixture is light and fluffy. This will take about 2-3 minutes using an electric mixer. The creaming process helps incorporate air into the batter, giving the bars a soft, tender texture.
Step 3: Add the Eggs
Beat in the eggs one at a time, making sure each egg is fully incorporated before adding the next. Stir in the vanilla extract and almond extract to enhance the flavor of the dough.
Step 4: Combine the Dry Ingredients
In a separate bowl, whisk together the flour and salt. Gradually add the dry mixture to the creamed butter and sugar mixture, mixing until well combined. Be careful not to overmix the batter.
"Whisking the flour and salt together before adding them to the wet ingredients helps ensure the salt is evenly distributed throughout the dough."
Step 5: Assemble the Bars
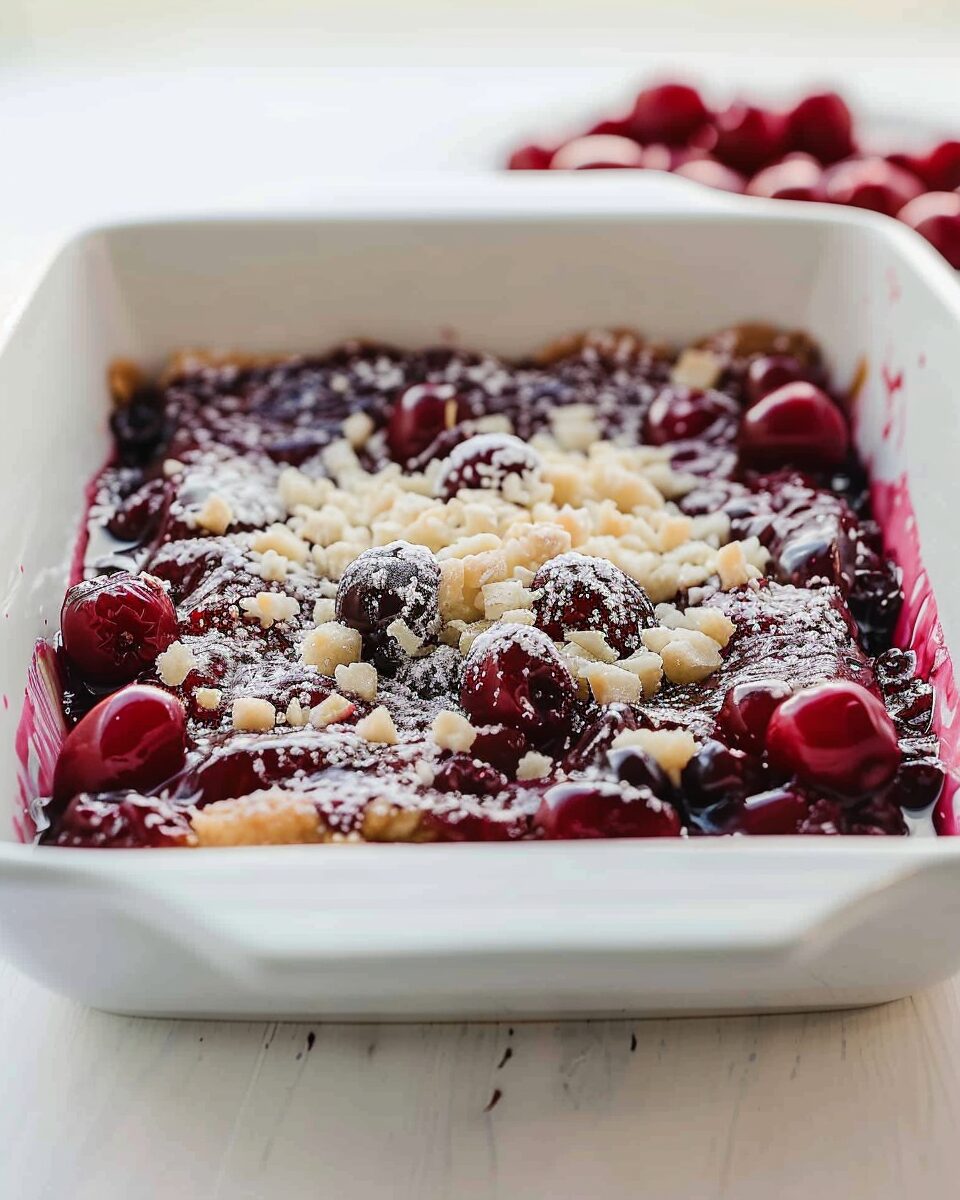
Spread 3 cups of the batter evenly over the bottom of the prepared pan. The batter will be fairly thick, so use a spatula to smooth it out evenly. Then, spread the cherry pie filling evenly over the batter.
Drop spoonfuls of the remaining batter over the cherry filling. It’s okay if the batter doesn’t completely cover the filling—leaving some gaps allows the cherries to peek through, giving the bars a lovely, rustic look.
Step 6: Bake
Place the pan in the preheated oven and bake for 30-35 minutes, or until a toothpick inserted into the center comes out clean. If you’re using a 9x13-inch pan, the bars may take a bit longer to bake since they’ll be thicker. Keep an eye on them, and adjust the time as needed.
Pro Tip: For best results, start checking the bars around the 30-minute mark to avoid overbaking. The top should be lightly golden, and the edges may begin to pull away from the sides of the pan.
Step 7: Cool the Bars
Once the bars are baked, remove the pan from the oven and let the bars cool completely on a wire rack. This will take about 1-2 hours. Cooling the bars ensures they set properly before you drizzle the glaze and slice them.
Step 8: Make the Glaze
In a small bowl, whisk together the powdered sugar, vanilla extract, almond extract, and milk until smooth. The glaze should be thick enough to hold its shape when drizzled but thin enough to pour easily. If it's too thick, add a little more milk; if it's too thin, add a bit more powdered sugar.
Step 9: Drizzle the Glaze
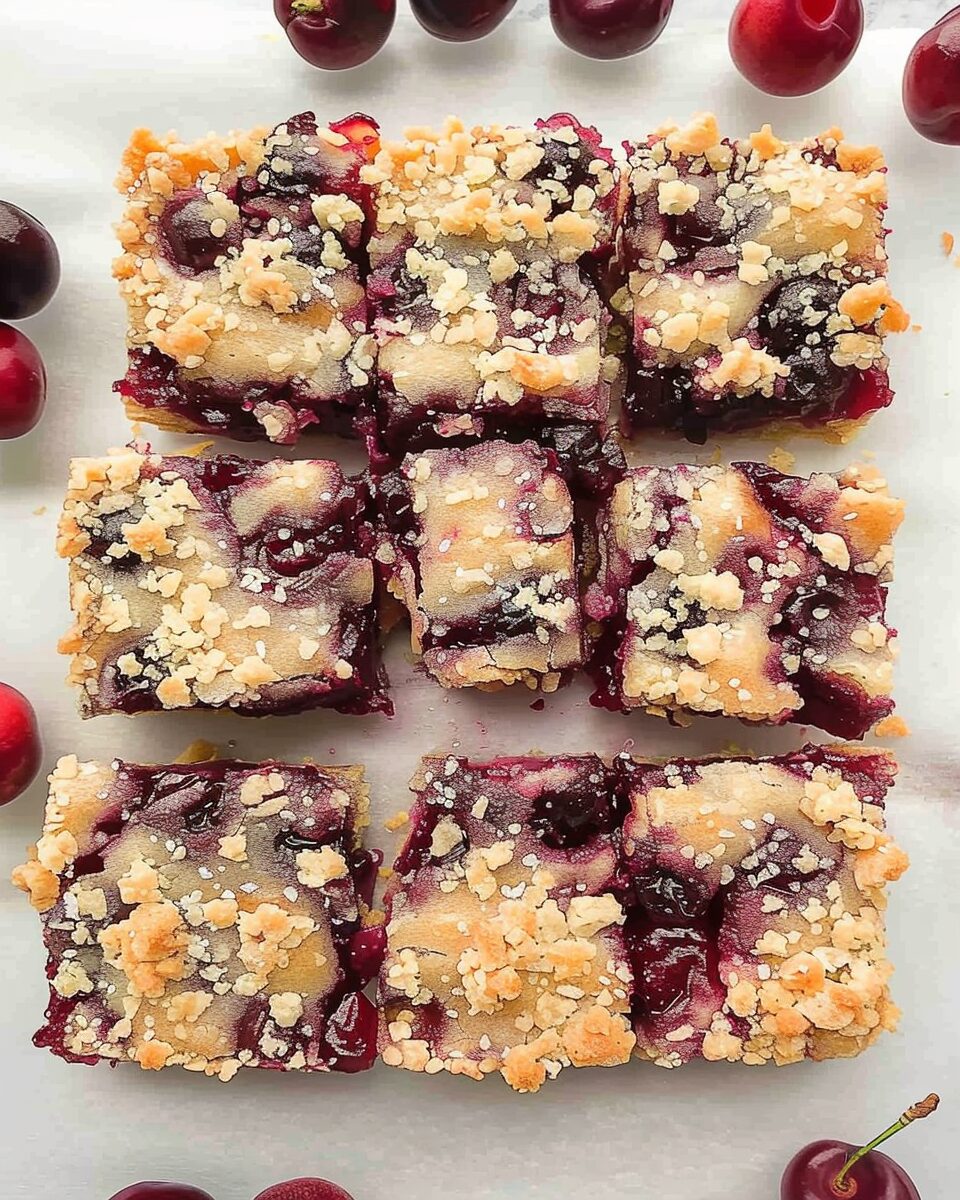
Once the bars have cooled completely, drizzle the glaze over the top using a spoon or by pouring it into a zip-top bag and snipping off a small corner to pipe it evenly. Let the glaze set for about 10-15 minutes before cutting the bars into squares.
Step 10: Serve and Enjoy!
Cut the bars into squares and serve! These cherry pie bars are perfect for parties, potlucks, or a sweet treat at home. Enjoy!
Frequently Asked Questions :
Q: Can I use homemade cherry pie filling instead of canned?
A: Absolutely! If you prefer homemade cherry pie filling, feel free to use it in place of the canned filling. Just make sure you have enough for two cans (about 42 oz).
Q: Can I make these bars ahead of time?
A: Yes! These bars store well in an airtight container at room temperature for up to 3 days. You can also store them in the fridge for up to 5 days. If you’re making them ahead for a party, you can glaze them the day before serving.
Q: Can I freeze Cherry Pie Bars?
A: Yes, you can freeze them! Let the bars cool completely, and don’t glaze them if you plan to freeze. Wrap them tightly in plastic wrap and then in foil, and freeze for up to 3 months. When you’re ready to serve, thaw them at room temperature and drizzle with glaze before serving.
Serving Suggestions for Cherry Pie Bars :
These Cherry Pie Bars are a delicious dessert on their own, but here are a few ideas to elevate them:
- Serve with Ice Cream: Top the bars with a scoop of vanilla ice cream for an extra indulgent treat.
- Whipped Cream: Add a dollop of whipped cream to each slice for a lighter, creamy touch.
- Warm it Up: Warm the bars in the microwave for a few seconds before serving to bring out the flavors even more.
"I love serving these bars slightly warm with a big scoop of vanilla ice cream on the side—it’s like having cherry pie in bar form!"
Please remember to SHARE on Facebook and PIN IT!
FOLLOW ME ON PINTEREST BY CLICKING HERE <——
★ If you make this recipe, please leave a comment and give it a star rating. I would love to know how you liked it!
📖 Recipe
Cherry Pie Bars
Ingredients
- For the Bars:
- 1 cup butter softened
- 2 cups sugar
- 4 eggs
- 1 teaspoon vanilla extract
- ¼ teaspoon almond extract
- 3 cups all-purpose flour
- 1 teaspoon salt
- 2 cans 21 oz each cherry pie filling
- For the Glaze:
- 1 cup powdered sugar
- ½ teaspoon vanilla extract
- ½ teaspoon almond extract
- 2 tablespoon milk
Instructions
- Preheat oven to 350°F (175°C). Spray a 15x10x1-inch pan with non-stick spray.
- Cream the butter and sugar until light and fluffy. Beat in the eggs one at a time, then stir in the vanilla and almond extracts.
- Combine the flour and salt, and gradually add to the creamed mixture, mixing until well combined.
- Spread 3 cups of the batter into the prepared pan. Top with cherry pie filling, and drop spoonfuls of the remaining batter over the filling.
- Bake for 30-35 minutes, or until a toothpick comes out clean. Let cool completely.
- Whisk together the glaze ingredients and drizzle over the cooled bars. Let the glaze set before cutting into squares. Enjoy!

Leave a Reply